Baking at a campsite is the first thing most people quit. I quit it twice. My first loaf came off a thin pan with a bottom like a river rock and a middle that was still wet, and I blamed the recipe. It was not the recipe. It was the pan. Thin metal gives up its heat the second you lift the lid, and campfire heat is uneven to begin with, so anything thin turns a small mistake into a burnt one. What I needed was a pot heavy enough to hold a temperature while I fumbled with the lid and wind came across the picnic table from three directions.
That pot turned out to be the Lodge cast iron double Dutch oven, five quarts, and I bought it in the fall of 2024. It weighs 13.1 pounds, which makes it the heaviest thing in our cooking kit and is also the whole reason it works. The lid is not only a lid. It is a dual handle skillet in its own right, so on a night when I want braised short ribs and a pan of onions to go with them, I have both without hauling out a second piece of iron. Between trips it rides in a padded bag on the floor of the outside storage bay, low and centered in our 25 foot Class C.
The five quart pot that turns a bag of charcoal into an oven
Round, 11.15 inches across, oven safe, hand wash only, with a lid that works as a skillet. It is the one piece of iron I stopped leaving at home.
Amazon Check Today's Price on Amazon →Step 1: Learn how your coals behave before you learn the pot
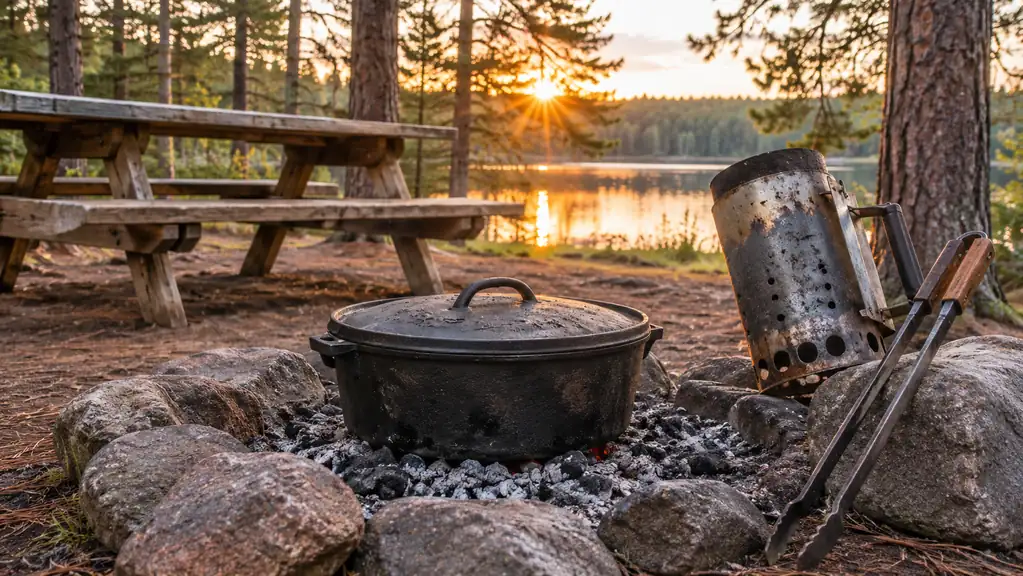
Briquettes are the closest thing to a temperature dial you get at a campsite, and most people never learn to read them. I use a chimney starter and wait until every briquette has gone gray at the edges with a red core still showing. That takes twenty minutes on a calm day and longer if there is a breeze coming off the water. Once they are gray I spread them with long tongs and I count them. For a braise I want most of the heat underneath, so I lay a ring under the pot and put four or five briquettes on the lid. For baking I want a more even split, and I still keep a little more underneath than on top.
The count matters less than the pattern. A single ring under an 11.15 inch pot gives you a gentle simmer. A solid bed gives you a hard sear. If you pile the coals up one side, that side burns. I learned that the expensive way with a pot of chili that scorched in one crescent and stayed thin and raw next to it. Now I spread them, wait five minutes for the iron to settle into the heat, and only then decide whether I need two more.
Ray handles the campfire and I handle the coals, and that division of labor has kept us married for a long time. On nights when there is a fire ban, or the wind is doing that thing where it changes direction every few minutes, I move the whole operation to the Gas One portable stove. It runs on butane canisters or a one pound propane cylinder with the adapter, and it will hold a braise at a simmer all evening. I set the pot squarely on the burner grate, set a windscreen around it, and I do not try to bake on it. Baking wants coals on the lid, and a single burner cannot give me that.
Step 2: Braise with the heat mostly underneath and leave the lid alone
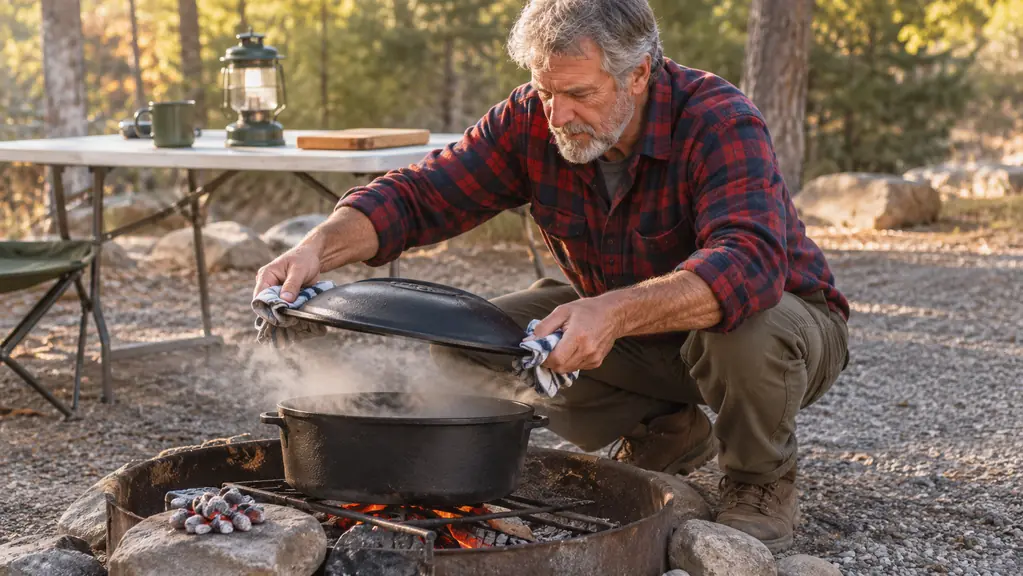
Searing is the step people skip when they are tired and it is getting dark, and it is the step that separates a stew from a pot of gray meat. I set the Lodge pot directly on a bed of coals with no lid and let it come up to heat for a few minutes before anything goes in. Then the meat goes in dry, a few pieces at a time, and I do not move them until they release on their own. Crowd the pot and you steam the meat instead of browning it. With a five quart pot I sear in three batches, which sounds fussy and takes about twelve minutes.
Once the meat is out, onions and carrots go into the fat, then the meat goes back in, then liquid gets poured to about halfway up the sides. Not to the top. A braise that deep turns into soup and takes forever to cook down. The lid goes on with a few coals on top and a ring underneath, and then comes the hard part. I leave it alone. Every time you lift that lid you dump the heat you spent twenty minutes building. I give a beef braise two hours and a chicken braise one, and I only check at the end.
Wind is the enemy of all of it. A breeze that would not bother you in a lawn chair will pull the heat right off the lid and stretch a two hour braise to three. I line up the camp chairs on the windward side, which looks silly and works better than you would expect. If it is really blowing, I move to the lee side of the rig and use the stove instead, with a folded piece of aluminum around the burner.
Step 3: Bake bread by treating the pot as a small oven
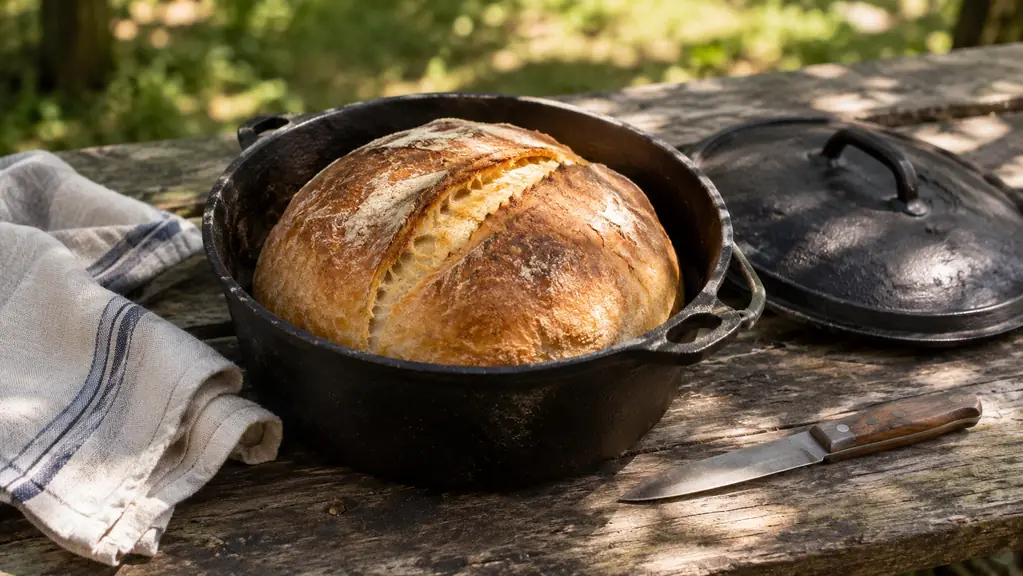
Bread is where this pot earns its keep, and where the two in one design pays off. The method is simple. Get the empty Lodge pot hot first. I set it on a bed of coals with the lid on and let it heat for twenty minutes while the dough finishes its rise in a collapsible silicone container on the picnic table. A hot pot gives the loaf an immediate lift, and it also means you are not dropping cold dough into cold iron, which is how you get a brick.
Then the dough goes in, I score the top once with a paring knife, the lid goes on, and the coals go on the lid. This is the part that sounds like a trick and is not. A five quart pot with a lid full of coals is a small oven, and it holds heat better than any camp oven I have used. I keep a ring of briquettes underneath and a thin even layer on top, and I turn the pot a quarter turn every fifteen minutes and turn the lid the other way so the hot spots cancel out. A round loaf in an 11.15 inch pot takes about forty minutes.
The failures are readable once you know what they mean. A burnt bottom means too much heat underneath, so take four briquettes off the bottom ring and add two to the lid. A pale soft top means the opposite. A loaf that spreads instead of rising is a dough problem, not a pot problem, and no amount of iron will fix it. My first three loaves this way were edible and not much more. The fourth was better than the bread I buy at the store in Salem.
Thirteen pounds of cast iron is the whole reason the bread works. A thin pan loses its heat the second you lift the lid, and a campsite is nothing but moments of lifting the lid.
Step 4: Use the lid as a second pan so you cook one meal, not two
The lid is a dual handle skillet, and I did not use it that way for the first month. That was a waste. On a night when I want braised chicken with a pan of onions and apples alongside, I lift the lid off the pot about twenty minutes before we eat, wipe it out, set it over a small ring of coals, and cook the onions in the fat I just spooned off the braise. Two dishes, one piece of cookware, one fire. In a galley with one narrow drawer, that arithmetic matters.
The lid also covers breakfast when the griddle is already full. Eggs in the lid, bacon on the Blackstone, coffee on the inside stove, and nobody sits waiting. It has two handles, so it comes off the coals without a wrestling match, and because it is cast iron it keeps cooking for a minute or two after you pull it to the edge of the fire. I set it on a flat rock or the metal table. Never on the plastic edge of the picnic table.
Step 5: Dry it, oil it, and pack it low
Cleaning decides whether you keep using this pot or leave it in the storage bay. Lodge builds it to be hand washed only, and I wash it with hot water and a stiff brush while it is still warm, which takes about two minutes and almost no water. That last part matters in a rig with a small gray tank. I do not let it soak, and I do not leave it in the sink overnight. A crust of last night's stew left in the bottom is a small nuisance on Tuesday and a real problem by Friday.
Then it goes back over the heat, dry, for three or four minutes until every trace of water is gone. That is not fussiness, it is rust prevention, and rust is the only thing that has ever genuinely damaged cast iron I own. While it is still warm I wipe the inside with a thin film of oil on a paper towel, inside and out, and I never put it away wet. The underside of the lid gets the same treatment, because that is the face that sits over steam all evening.
The pot rides in a padded bag on the floor of the outside storage bay, which is the lowest point we have. At 13.1 pounds it is the heaviest cooking item on board, and I want that weight down low and centered instead of sliding around an overhead cabinet at highway speed. Before it goes in the bag I check that the lid is seated. A loose cast iron lid in a moving motorhome is a dent waiting to happen to whatever is next to it.
What Else Helps
Two other things earned a permanent place in this routine. The first is the set of collapsible silicone food containers. They hold the prepped onions, the measured flour and the leftover braise, then flatten into almost nothing in the overhead cabinet. The second is the small fridge, which is where the no knead dough spends the night before a bake day. Cold dough holds its shape going into a hot pot, and a six cubic foot fridge has room for one bowl of dough if I plan the week. I do not bake bread on a travel day.
The nonstick set stays inside for fast meals, and the griddle handles breakfast so the Lodge pot does not have to. Keeping each piece to its own job is what makes a small galley work. When everything has to do everything, nothing gets cleaned properly, and cast iron is the one piece that punishes you for a sloppy night.
One pot, one lid, and a bag of charcoal is a campsite oven
Five quarts, 11.15 inches across, oven safe, with a lifetime limited manufacturer's warranty. It rides in the storage bay and earns its thirteen pounds about once a week.
Amazon Check Today's Price on Amazon →